1.1. Design
The RTF template design changes are documented in the image below:

1.2. Configure
1.2.1. Download TRW template
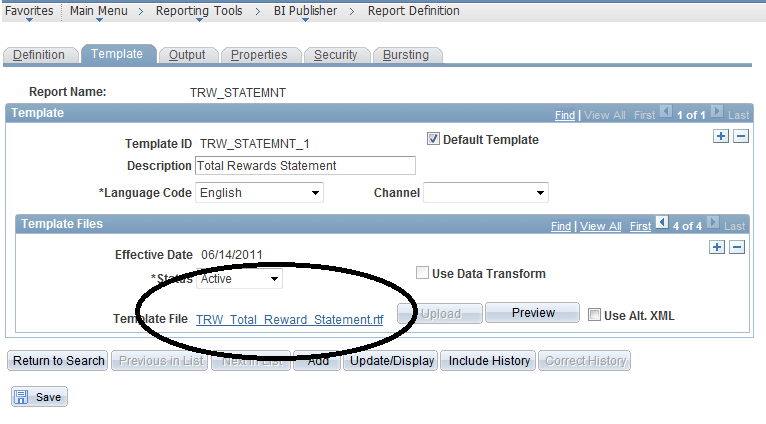
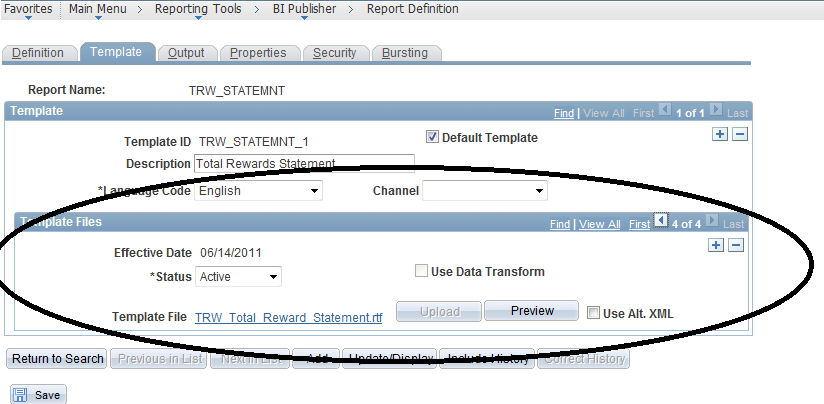
Navigate to Reporting Tools > BI Publisher > Report Definition
Search for TRW_STATEMNT in the report name field
Navigate to Template tab
Click on the template file TRW_Total_Reward_Statement.rtf to download and save it on hard drive.
1.2.2. Install Template designer Add-in
Navigate to Reporting Tools > Setup > Designer Helper
Click on “Plug-in for Microsoft Word” link. This will download an executable to your local machine.
Click Open/Run to run the executable. Close down word document and outlook before starting the installation.
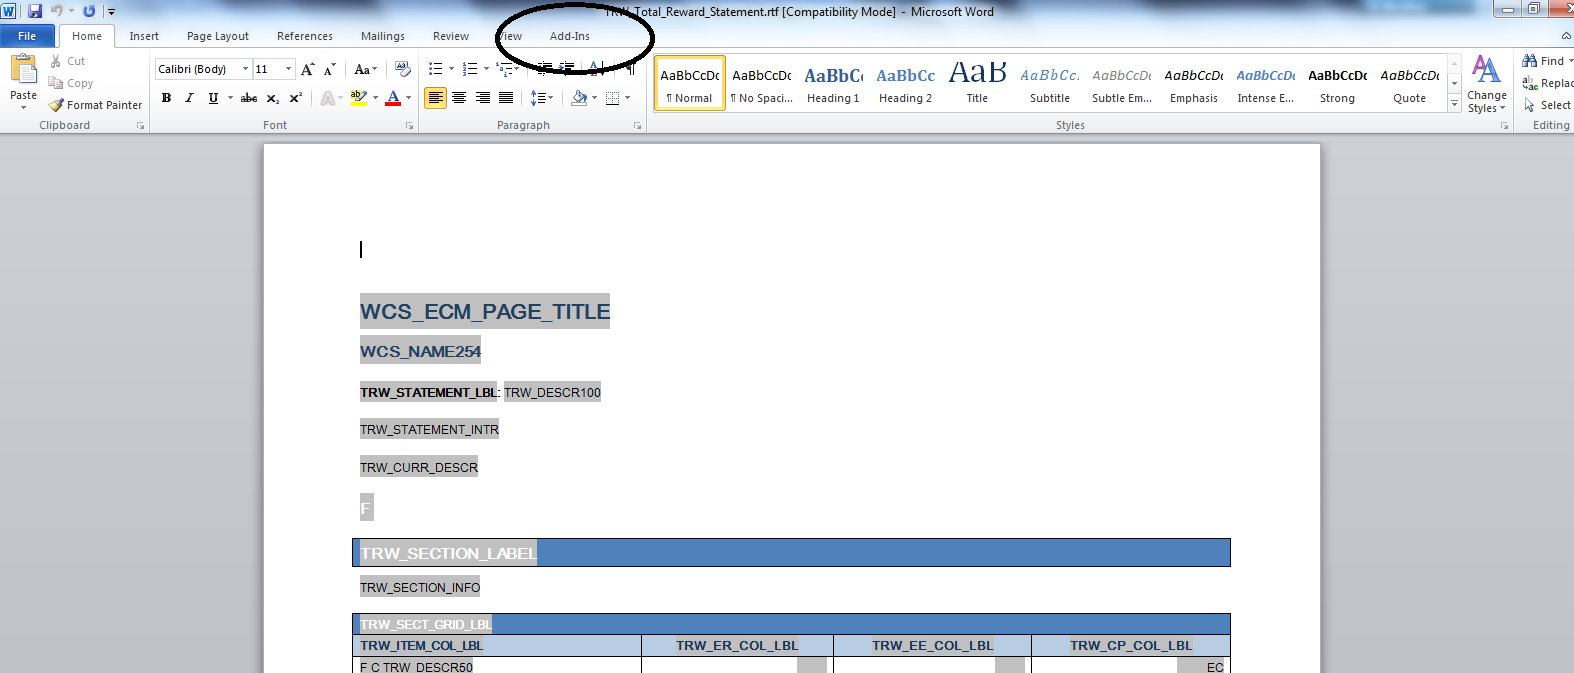
After the installation is done, open up a downloaded template document and verify that the add-ins menu is available at the top.
1.2.3. Edit Statement
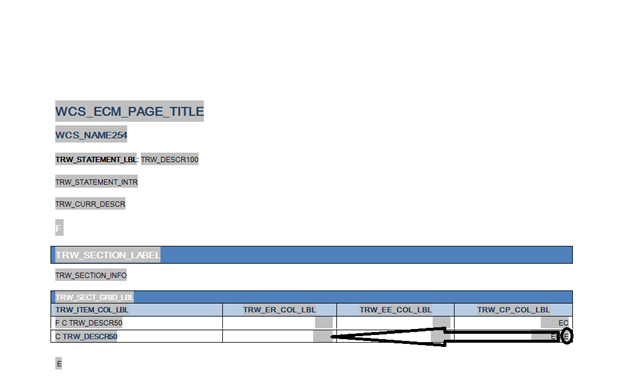
Navigate to the table on the statement
Select the “EC” tag in the last column of the 2nd row in the table and move it to the end of second column. EC tags are used to indicate end of a criteria section. The row has a criteria on it to not show the summary row and hence the same criteria should be maintained as we change the structure of the table.
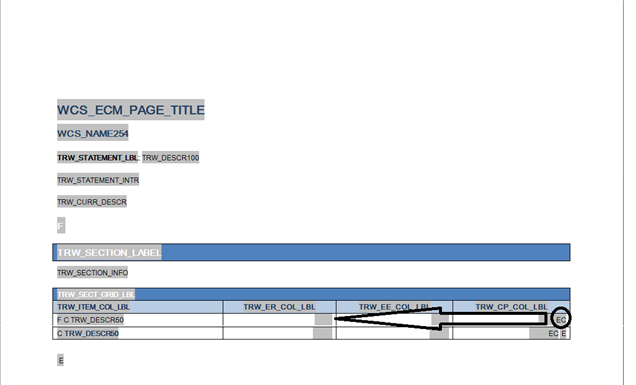
Select the “EC” tag in the last column of the 3nd row in the table and move it to the end of second column. EC tags are used to indicate end of a criteria section. The row has a criteria on it to show the summary row and hence the same criteria should be maintained as we change the structure of the table.
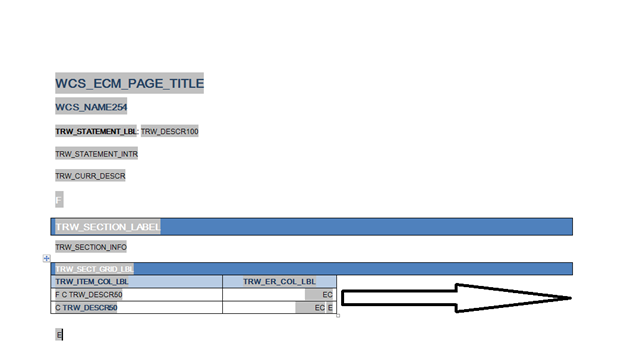
Select the “E” tag in the last column of the 3nd row in the table and move it to the end of second column. E tags are used to indicate end of a repeating group. The table has a repeating group starting at tag “F”. The repeating group is configured to repeat the rows in the table for all the items in a given section and hence the same criteria should be maintained as we change the structure of the table.
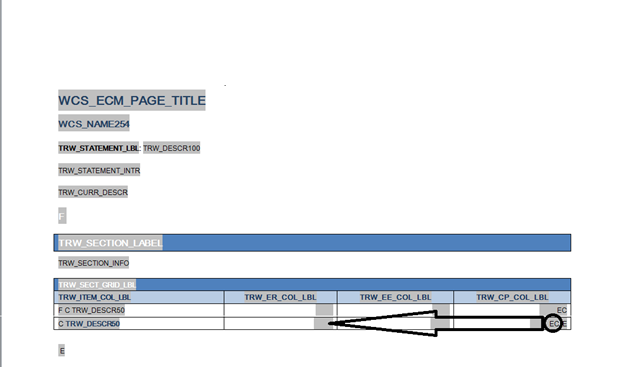
Select and delete the last two columns in the table from the template. Select “Shift cells left”.

As the statement needs to be published in PDF hence the table needs to be formatted. Drag the table cells to align the length with table header.
Final statement template should look like
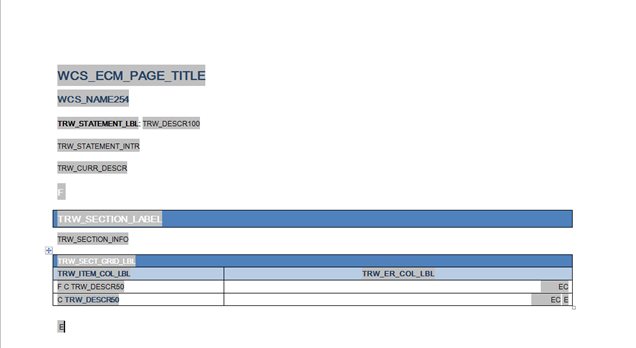
Save the template as TRW_Total_Reward_Statement_V1.rtf with a new name on your hard drive.
1.2.4. Preview Statement
Navigate to Reporting tools > BI Publisher > Report Definition
Search/select for TRW_STATEMNT in report name field.
Click on the sample data link on the definition tab. This will download an XML file. Save the file to your hard drive.

Open up the template TRW_Total_Reward_Statement_V1.rtf and navigate to add-in menu.
Click on the “Data” menu and then “Load XML Data” menu item.

Select the previously downloaded XML file as input.

System notifies that the data loaded successfully.
Click Preview > HTML in the “add-ins” menu
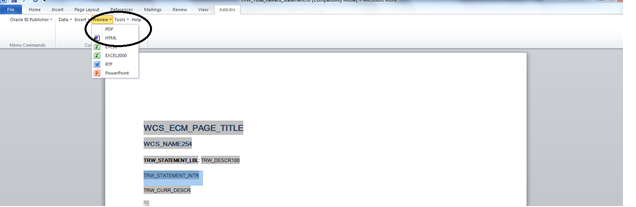
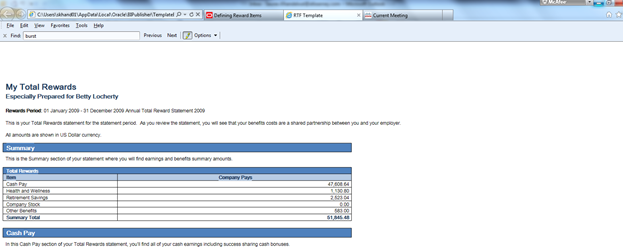
A statement preview will show in your default browser
1.2.5. Upload Statement
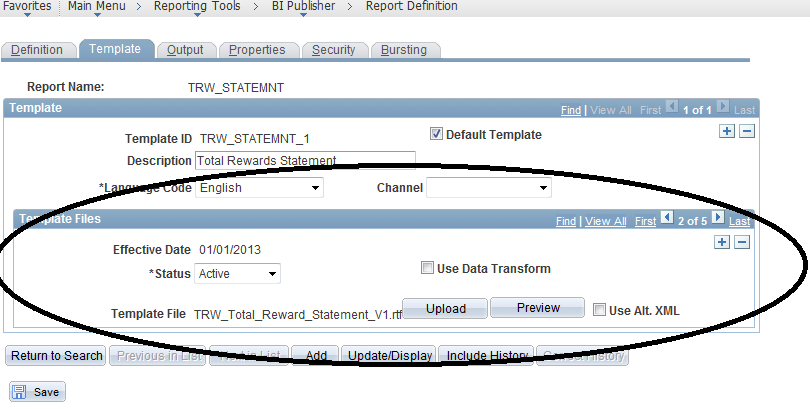
Navigate to Reporting tools > BI Publisher > Report Definition
Search/select for TRW_STATEMNT in report name field.
Navigate to Template tab
Add a new row in the Template file section with a new effective date of 1/1/2013
Upload the newly developed template file TRW_Total_Reward_Statement_V1.rtf from hard drive to the template file section.

Nice lesson. Have you seen a Java error when trying to preview a template? I keep getting a Java error telling me to “check Java option” – I think it somehow can’t find the location of my JRE, though I’m certain I provided that.
Hi Kent. Thanks. I had to get through quite a few java errors before I got this all setup. What version of PeopleTools and Office are you using? Also can you tell me the exact error message.